
Tools needed: Dotting Tool (or mechanical pencil, toothpick, etc.)

Today’s post was a request made by a fellow beauty blogger and you may know her as The Beautified Blogger. She told me that she was having trouble doing a simple dotticure, or dotted manicure… I’m here to help, so let’s get started!
Here is my Dotticure in a step-by-step tutorial:
1. Start with a base coat to protect your natural nail bed.
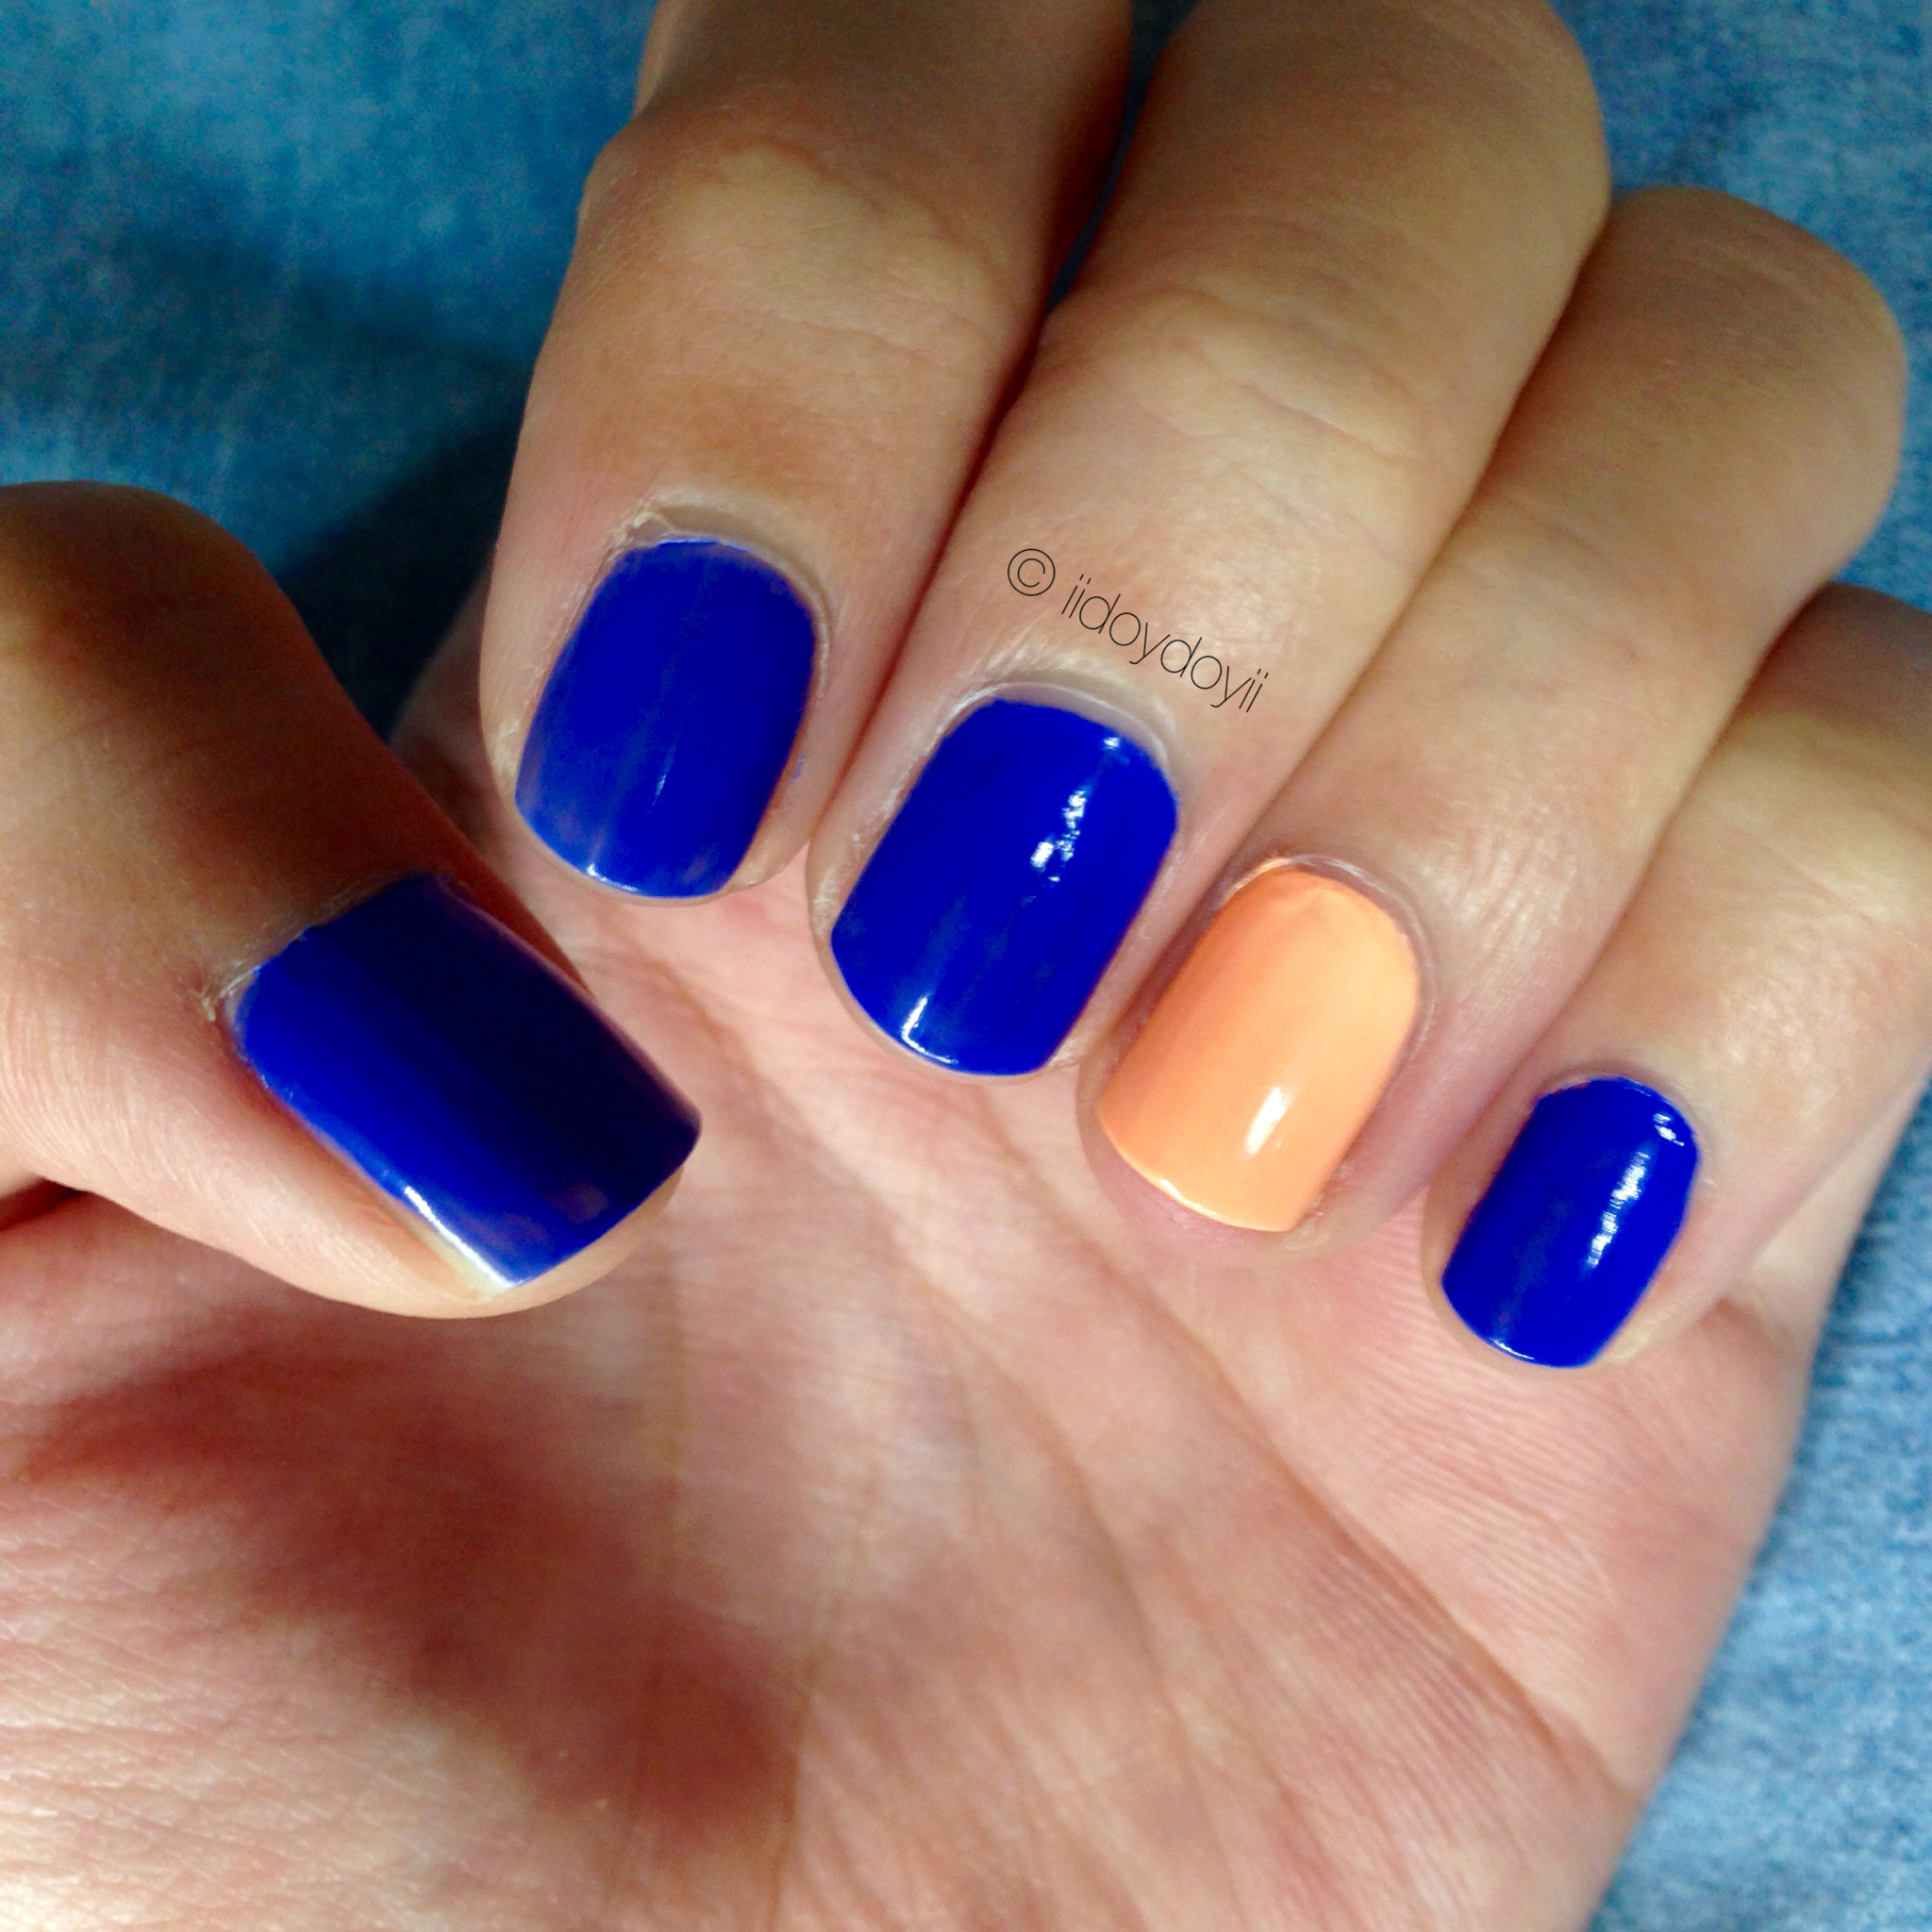
2. Paint the entire nail bed with your base color until it is opaque. (And a different color for your accent nail if you choose to do so)
 3. Take out your dotting tool of choice and starting in the center, start your dots diagonally. It is easier to space them out evenly if you do this trick.
 (I will be working with small, medium, and large dotting tools to show the effects of all three. Both the pinkie and thumb have the smallest dots.)
 (The pointer has medium dots.)
 (The pointer and ring finger both have medium dots. Just use the opposite colors for the accent nail.)
 4. Repeat step 3 with different sized dotting tools on each nail. (The middle finger as the large dots.)
5. Once the manicure is done, seal the nail art design with a quick drying top coat. This will make the nail look shiny and the design last longer.
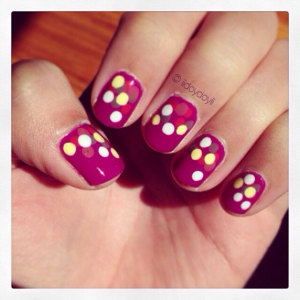 A dotticure is the first manicure I did with a dotting tool. I remember it being purple with all different colored dots and I wore it to my birthday to an amusement park with my friends. Here is a throwback picture of what I’m talking about!

List of Products:
Butter London Nail Foundation Flawless Base Coat
Butter London Hardwear P.D. Quick Top Coat
Julie G 9 to 5
Julie G Cabana Boy
I’d love to see your manicure. If you end up trying this nail look out, show/tag me on Instagram using the hashtag #iidoydoyii
Remember, don’t be shy in requesting a nail design!

Cute! And relatively easy to do. I love how you have a SET of dotting tools with varying dot sizes. You’re so hardcore. I have one dotter that I got from the dollar store!
LikeLike
Thank you! I got the set for one of my birthdays when I first discovered I could do nail art. I love them. I actually did this for another bblogger that was having trouble with dotted manicures, so she just needed some tips on how to have cleaner looking dots/patterns.
LikeLiked by 1 person
Have to try this one. I just wish dotting tool is available but how is it with mechanical pen? Just in case I haven’t find one?
LikeLike
I’m going to have a post on dotting tools soon! I think the mechanical pencil is a little tough because the dot is always going to be too tiny. BUT! On the mechanical pen, dip it into the nail polish, wait for it to dry. Repeat those steps until you have the dot size you want to use. The end will be bigger and easier to work with.
LikeLike
Thanks! Can’t wait to try and work with my nail colors. Excited much!
LikeLike
No problem girl! Have fun with it 🙂
LikeLiked by 1 person
Thanks for the step by step tutorial. 😊 really pretty manicure! 😍
LikeLike
Thank you, Tanya! 🙂
LikeLiked by 1 person
Aww I love the dots, especially! 😀
LikeLike
Thank you! They make manicures look fun and/or cute!
LikeLiked by 1 person
OMG – This came out absolutely gorgeous and these tips are so helpful – especially starting in the center and dotting diagonally! Beautiful colors, as well! I’m definitely going to try this soon and will let you know when I do! Thanks so much for posting, Joy!!!!! ❤
LikeLiked by 1 person
Thank you, Laurel! And any time! I’m glad you enjoyed my post. It’s dedicated to you! At first, I was going to do black and white, but I was like this girl loves her Essie colors too! So I went all out. Please do let me know how it goes! I hope this helps! ❤
LikeLiked by 1 person
Thank you so much!!! You know me and my bright colors!!!! So thoughtful! I will definitely keep you updated! ❤
LikeLiked by 1 person
No problem! This was so fun. Any other nail ideas that pop into your head, feel free to shoot them my way 🙂
LikeLiked by 1 person
So sweet of you and will do!!! ❤
LikeLiked by 1 person
I LOVE them!
LikeLike
Yay! Thank you girl!
LikeLiked by 1 person
I’m going to try this using your tutorial. Looks great!
I’d love to see a manicure with water drops if you’re interested in making one!
LikeLike
Awesome that’s so good to hear. Let me know if this works out for you. By water drops, do you mean like blue rain drops?
LikeLike
I’m thinking a matte look with spots of a top coat. It looks like beads of water.
LikeLike
Oh ok. I gotcha! Sounds pretty! I will add that to my list of mani Mondays! Thanks for the idea 🙂
LikeLiked by 1 person
No problem. I thought it sounded cool!
LikeLike
Too cute! Again, impressed with the mani skillz.
LikeLiked by 1 person
Thank you, thank you! So sweet 🙂
LikeLiked by 1 person
You have the best manicures! you inspire me every Monday 🙂 My only wish is to have the time to get one lol.
LikeLiked by 1 person
Aww best comment! Thank you. That made my day 🙂
LikeLiked by 1 person
You should do a mint & coral one!
LikeLiked by 1 person
Yes! Good idea! I’ll add that to my mani ideas. Thanks 🙂
LikeLiked by 1 person
Those are some cool nail tools! I’m loving the fun, bright mani here 😀
LikeLike
Those tools are pretty awesome. They make life easier haha. Thank you! 🙂
LikeLike
How funny! Love this blue shade a lot on the nails.
LikeLike
Cabana Boy is so nice on the nails. It’s my second time wearing it and I never usually repeat nail colors!
LikeLike
Thanks for the tip about dotting on a diagonal! Great idea!!
LikeLike
No problem and Thank you!
LikeLike
thank you for enlighting me. thought this was just done by the salonist in the salon and you just make it very easy. thanks for the tutorial. very creative. using a tooth pick as i update this
LikeLike
Very sweet comment! Thank you for stopping by 🙂 Toothpicks are a good choice for smaller dots.
LikeLike
Pingback: Manicure Monday: Raindrops | Styled with Joy
Pingback: Manicure Monday: Floral Polka Dot Nails | Styled with Joy
Pingback: My Favorite Styled with Joy Blog Posts | Apr. 2015 | Styled with Joy